Warrior I aka Virabhadrasana I is a foundational standing pose used in all Vinyasa and Ashtanga practices. It is a strong pose that will test you on many levels (like a Warrior). You may find that even as you progress in your practice that Warrior 1 will continue to be a challenging posture to master.
Pose Summary
Steps
Step 1
Begin in Tadasana (mountain pose) with your feet together and arms alongside your body. Distribute the weight evenly in your feet. If you have a hard time staying balanced here stand with the fee hip distance apart and parallel to one another.
Step 2
On an exhale step your left leg about 4 to 5 feet in back of you and turn your back foot at about a 45 degree angle so that the toes are pointed towards the top left corner of your mat. The front toes are pointed forwards and are parallel with the front edge of your mat.
Step 3
You want to have a heel to heel alignment between the feet. Keep the hips turned towards the front of your mat like two headlights pointing forward.
*Modification: For more stability you can walk the right foot out to the right a few inches.
Step 4
On an exhale, bend the right knee to 90 degrees so that the knee is directly over the ankle and the shin is perpendicular to the earth. Distribute the weight evenly through that front foot as you lift the inner arch and root down through the corners of the feet.
Step 5
Engage the quad of the back leg. The leg should be straight without locking out the the knee. Root down the outer edge of the back foot into the earth as you press into the big toe mound.
Step 6
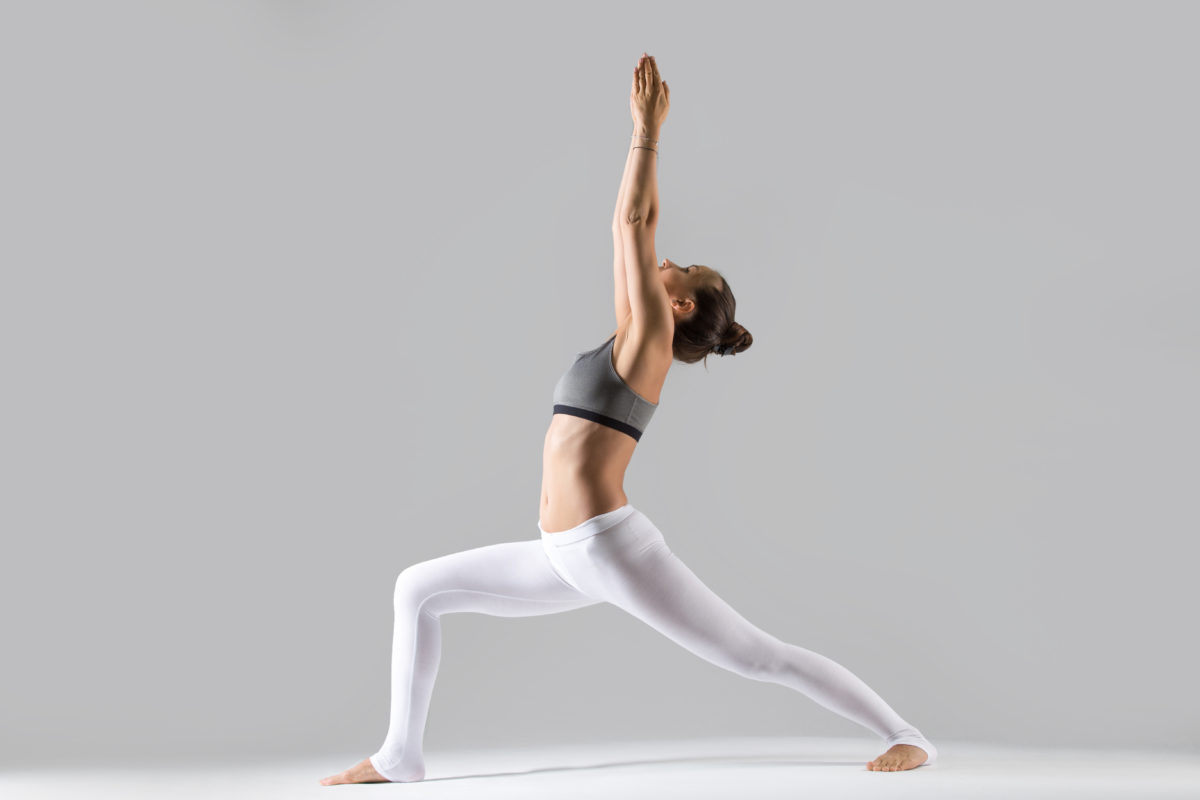
On an inhale, lift the arms up above head. Broaden the collarbones. Rotate the triceps or pinkie side of the hands in towards one another as you draw the shoulders away from the ears. Your fingers are actively reaching up towards the sky. Arms are either parallel to one another or palms are pressing together.
Step 7
Lengthen the tailbone down towards the earth as you draw the navel gently in and up towards the spine. Tuck the lower ribs in.
**Don’t dump into your lower back. It is very common and easy to over arch the lower spine, which may lead to lower back soreness or injury. This is a natural tendency you want to avoid, so it is important to continue to focus on drawing the navel in and up.
Step 8
Gaze forward and slightly upward. Make sure not to crunch the neck. Root down into the earth as you lift up to the sky.
Step 9
To get out of the posture, straighten the front leg, lower the arms and come back to mountain pose. Repeat on the left side.
Benefits
- Stretches the front body
- Tones thighs, ankles, abdomen and back
- Builds stamina, balance and concentration
- Increases circulation
- Promotes a calm and clear mind
Contraindications
- High blood pressure and heart problems
- Modify for neck injuries by lowering the gaze
- Modify for shoulder injuries by keeping the arms shoulder distance or wider