Side Plank Pose aka Vasisthasana is a very powerful posture that requires a lot of strength and body awareness. This posture is not recommended to those just starting out or yogis who have limited strength. For those yogis that are not here yet, Gate Pose is a great alternative posture to help prepare and build strength.
Pose Summary
Steps
Step 1
Start in tabletop position with the shoulders directly over the wrists and elbows and the hips directly over the knees.
Step 2
On an exhale, extend one leg and then to other back into plank pose.The toes are tucked, the feet are hip distance apart, the hand are shoulder distance apart, the fingers are spread wide and the shoulders are directly over the wrists. You are reaching through the crown of the head forwards and through the heels back.
Step 3
From plank pose, step your feet together and bring your right palm on the earth directly under your face. The fingers are spread wide.
Step 4
Roll on to the right side of your body balancing on the outer edge of the right foot and the right hand. Stack the left foot on top of the right, the left hip is stacked directly over the right hip, the legs are straight and engaged. Gently roll the left inner thigh back to help keep the hips squared. Lastly, flex the toes towards your face.
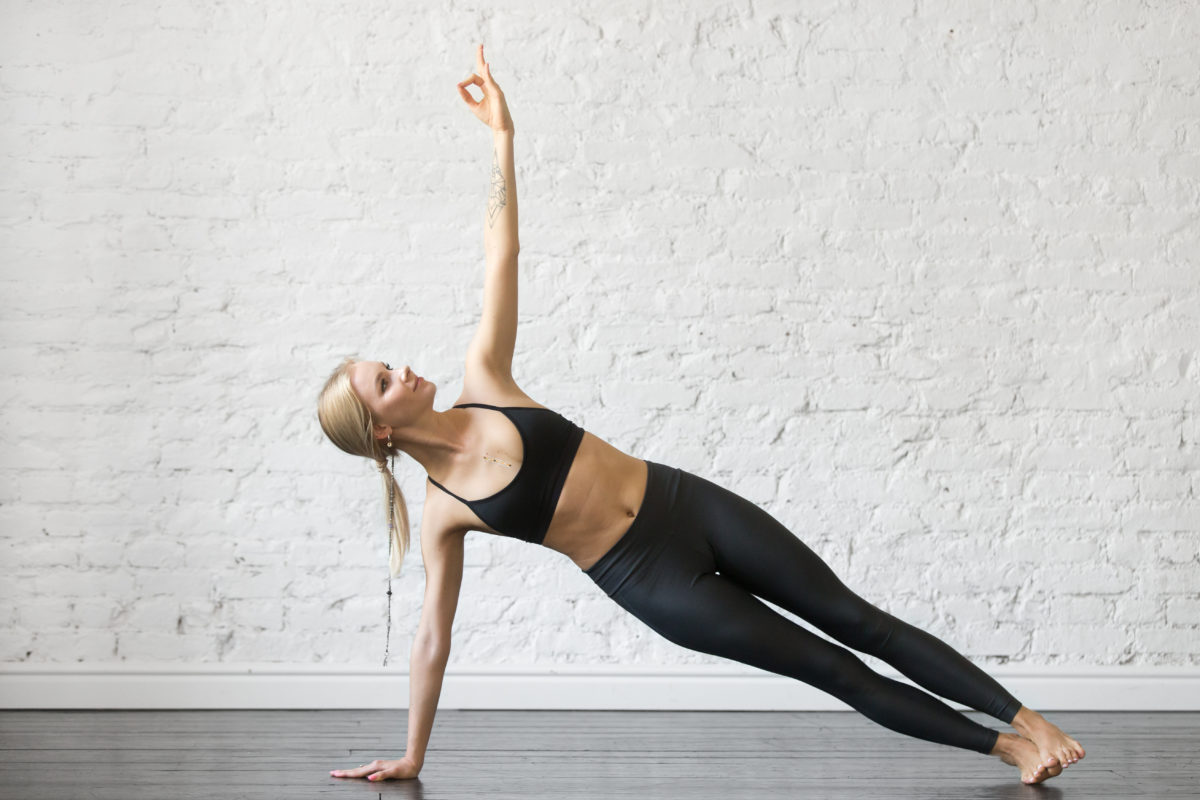
Step 5
Extend your left arm up, reaching the fingertips to touch the sky. The arms are in one straight line and both triceps are active. The grounded hand is firmly rooted into the earth without gripping the fingers.
Step 6
The muscles across the shoulder blades are engaged and the shoulders draw away from the ears.
Step 7
The body is in one straight line. Don’t let the hips dip down towards the earth.
**There is a tendency to dip the hips from fatigue. To avoid this strongly engage your muscles and press the floor away with your right hand and keep lifting the right hip up and away from the floor.
Step 8
Soften the gaze up towards the lifted thumb without crunching the neck.
Step 9
To release Side Plank Pose, bring the left hand and toes back down to the earth to come into plank pose. Repeat on the opposite side.
Modifications & Tips
Variation 1- Drop your right knee on the ground
Variation 2- Place your top foot just behind your bottom foot for balance.
Variation 3- Place your left foot on the ground in front or behind your right leg like a kick stand.
Advanced Variation 1- Place your right foot into your left inner thigh to mimic Tree Pose.
Advanced Variation 2- Grab a hold of your left big toe with your left peace fingers. Begin to straighten your left foot to your degree and lift towards the sky to your degree. You could keep a slight bend in the knee and eventually straighten.
 Variation with left foot behind the right foot for balance.
 Kick Stand Variation. This Kick Stand is behind the leg. You could also do it in front.
 Advanced Variation with Big Toe Grasp and Full Extension with Gaze Up.
Benefits
- Strengthens wrists, forearms, shoulders, spine and abdominal muscles
- Stretches the hips and hamstrings
- Promotes balance, concentration, and focus
Contraindications
- Arm, shoulder, or wrist injury
- Lack of strength